I first learned of the Bakersfield Qual from an article written by Greg Ellifritz.
Bob Jewell wrote a detailed article on Mike Waidelich that you can read here.
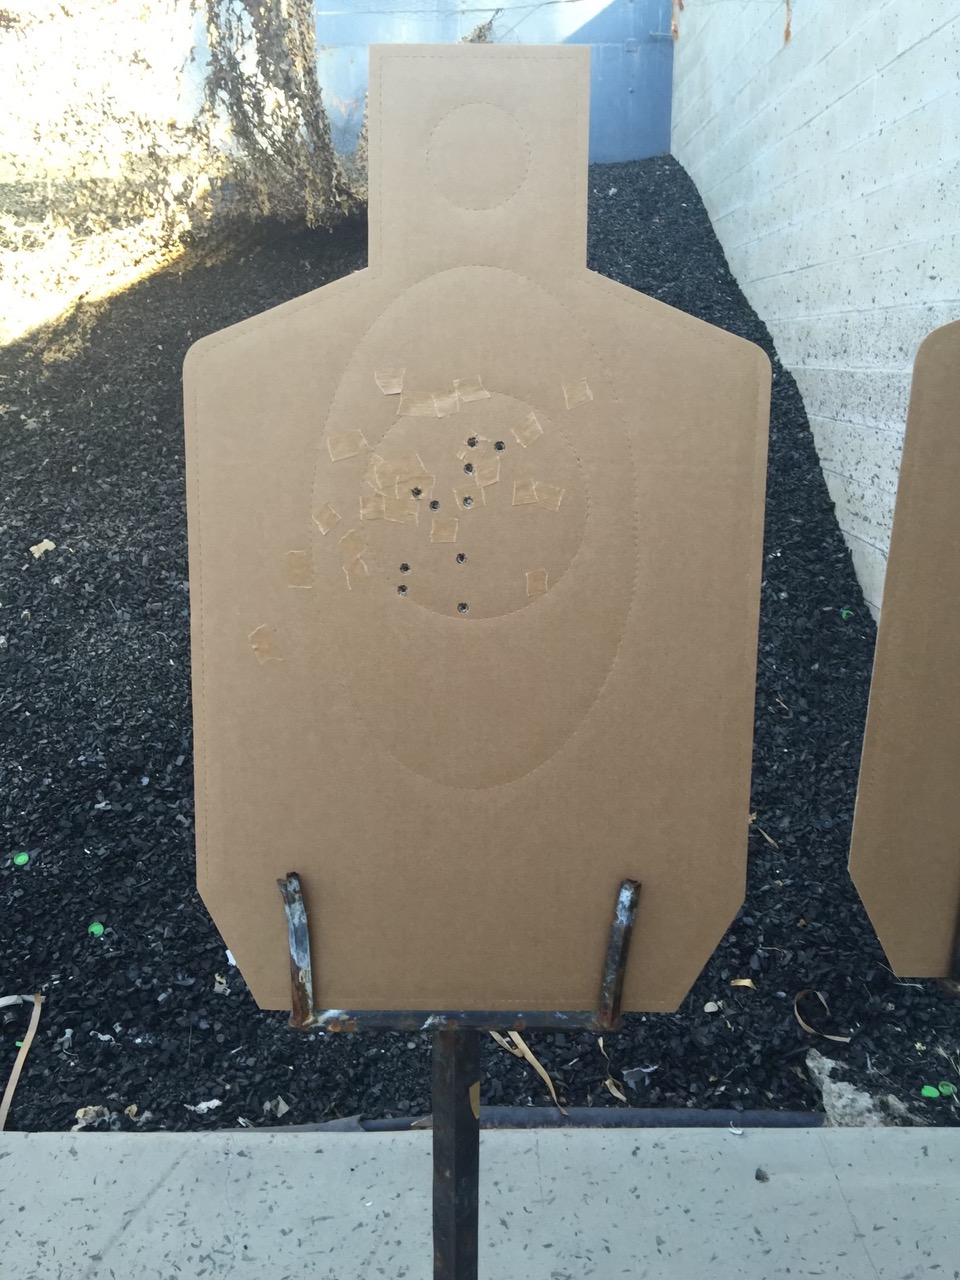
Per Bob, the Bakersfield Police Department still runs this course of fire, but they now use standard USPSA targets. They also use a turning target system and have eliminated the .25-second penalties in favor of the following: added 0.5 seconds to Stages 1, 2 & 4 & 1.0 seconds to Stage 3.
Original times:
Stage 1- 2 rounds in 1.5 seconds at 10 feet
Stage 2- 2 rounds in 2.0 seconds at 20 feet
Stage 3- 2 rounds, reload, 2 rounds in 6.0 seconds at 30 feet
Stage 4- 2 rounds in 3.5 seconds at 60 feet
One point should be deducted for each .25 (or increment of) over the par time. For example, a 1.74 on Stage 1 would be a 1-point deduction. A 1.76 would be a 2-point deduction as it is in the second .25 increment.
Turning Target times:
Stage 1- 2 seconds
Stage 2- 3 seconds
Stage 3- 7 seconds
Stage 4- 4 seconds
Shots that aren’t fired are scored as a miss.
The original target (and its current USPSA substitute) is scored 10/9/6. 80 points is passing.
Ken Hackathorn did the following video on the qual using an IDPA target scored 10/9/7, which I think is overly generous. I suggest 10/8/6 if using an IDPA target.
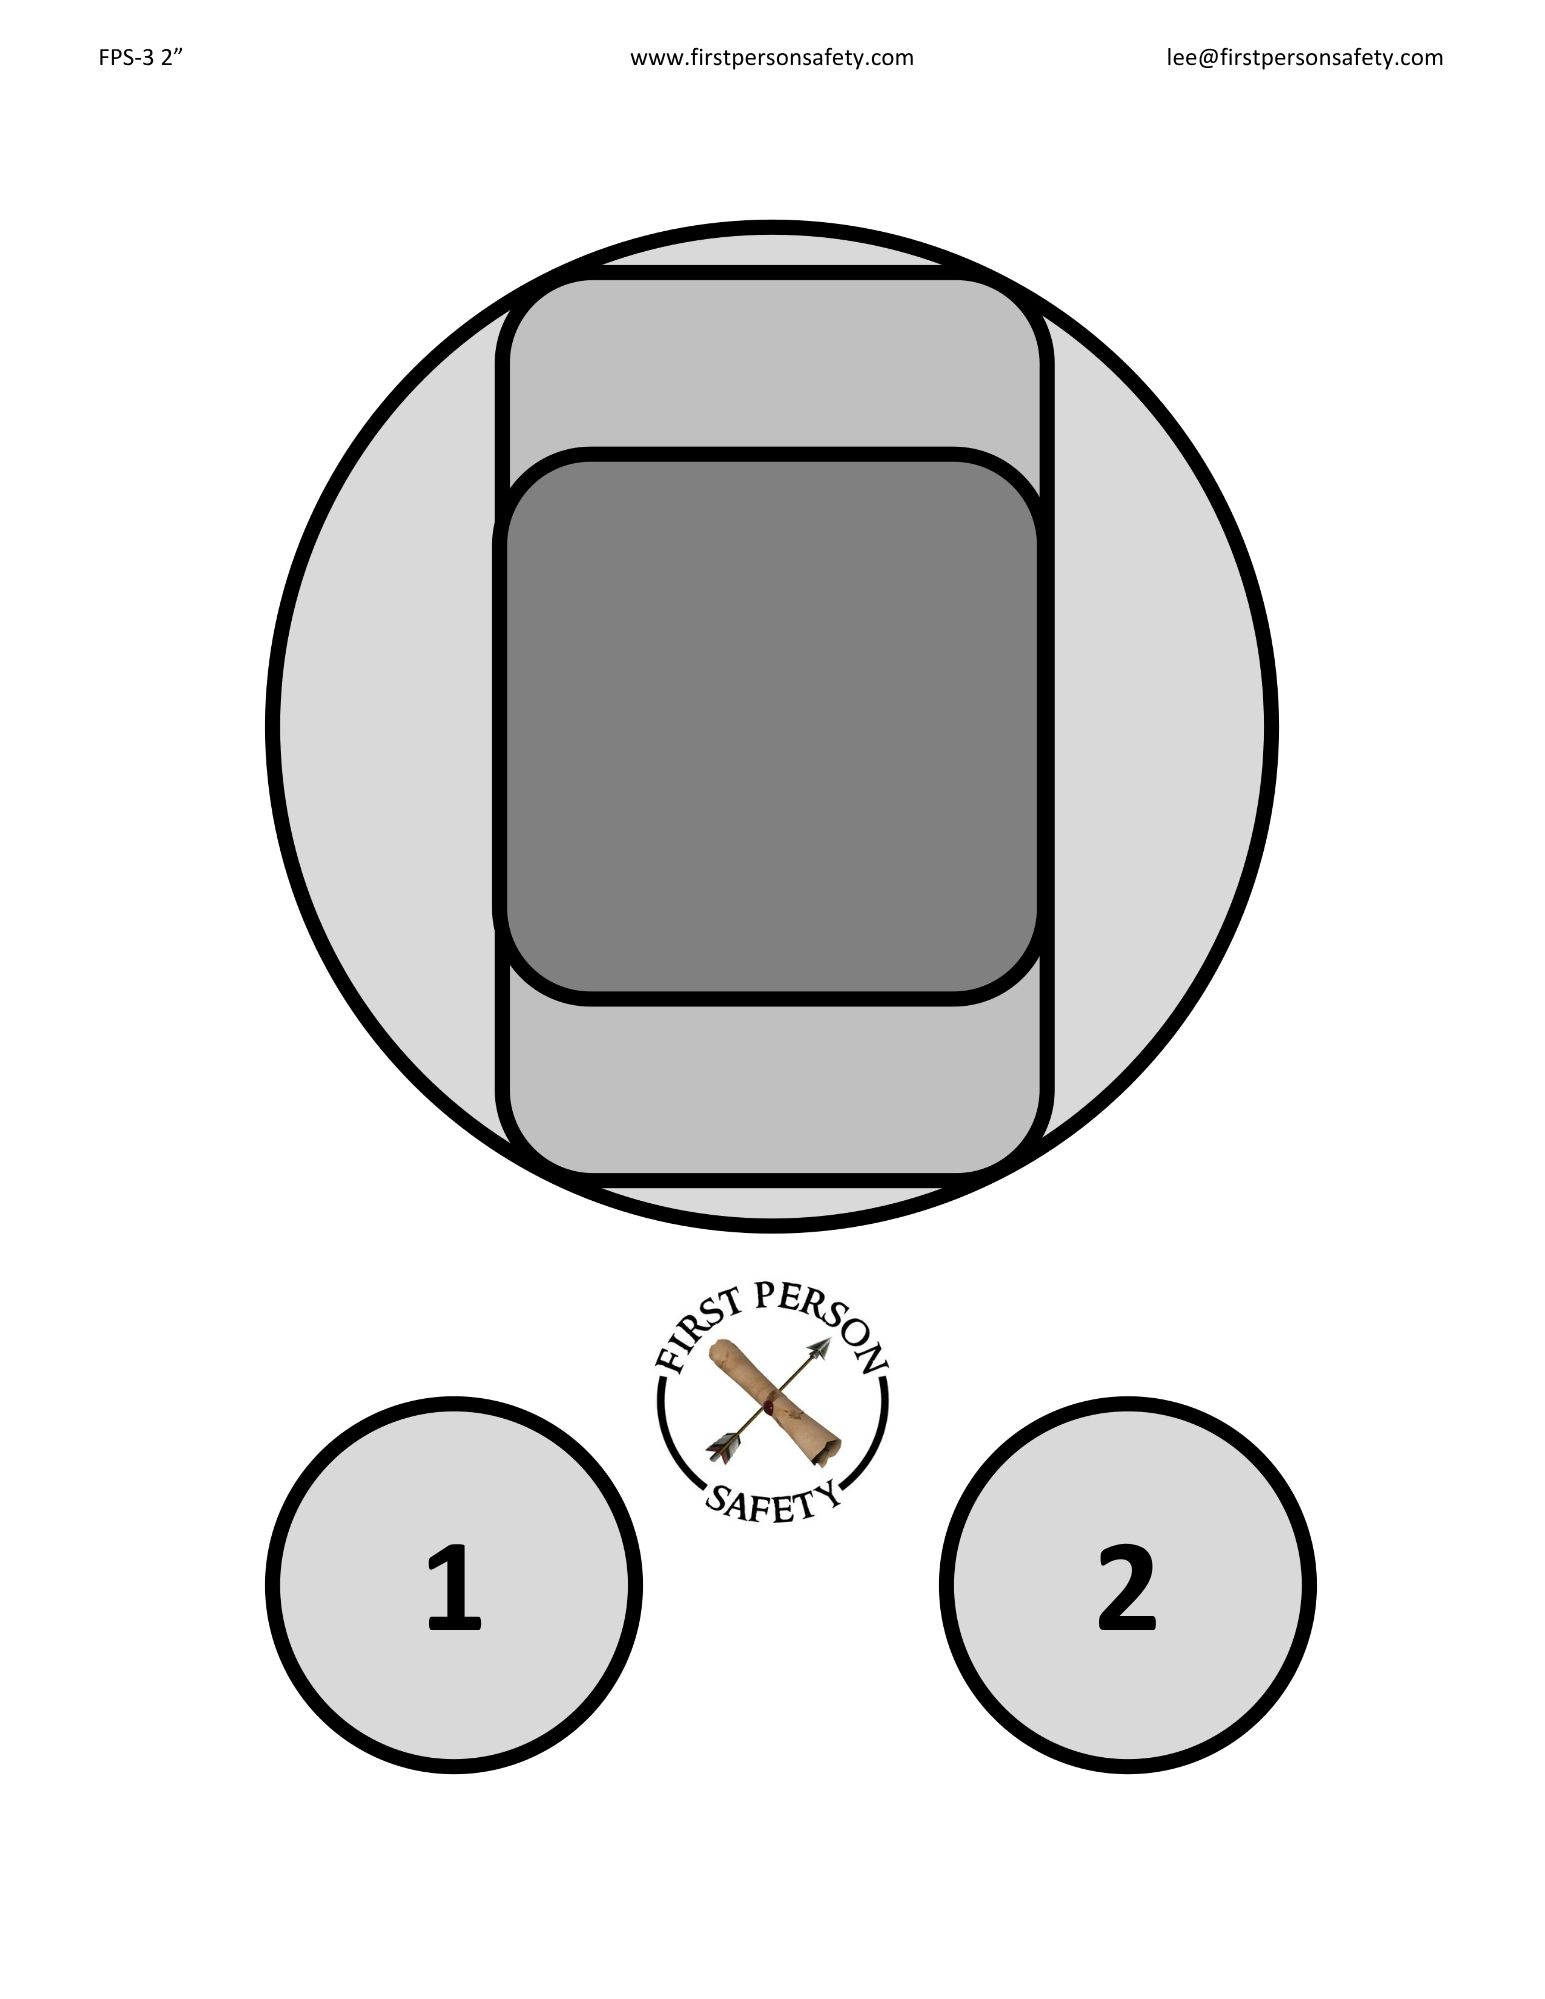
A viewer of the video sent the actual target dimensions to Mr. Hackathorn who shared them with me.
Here is a picture of the actual target:
I shared the information with John Hearne who created a file for printing on 8.5×14 paper.
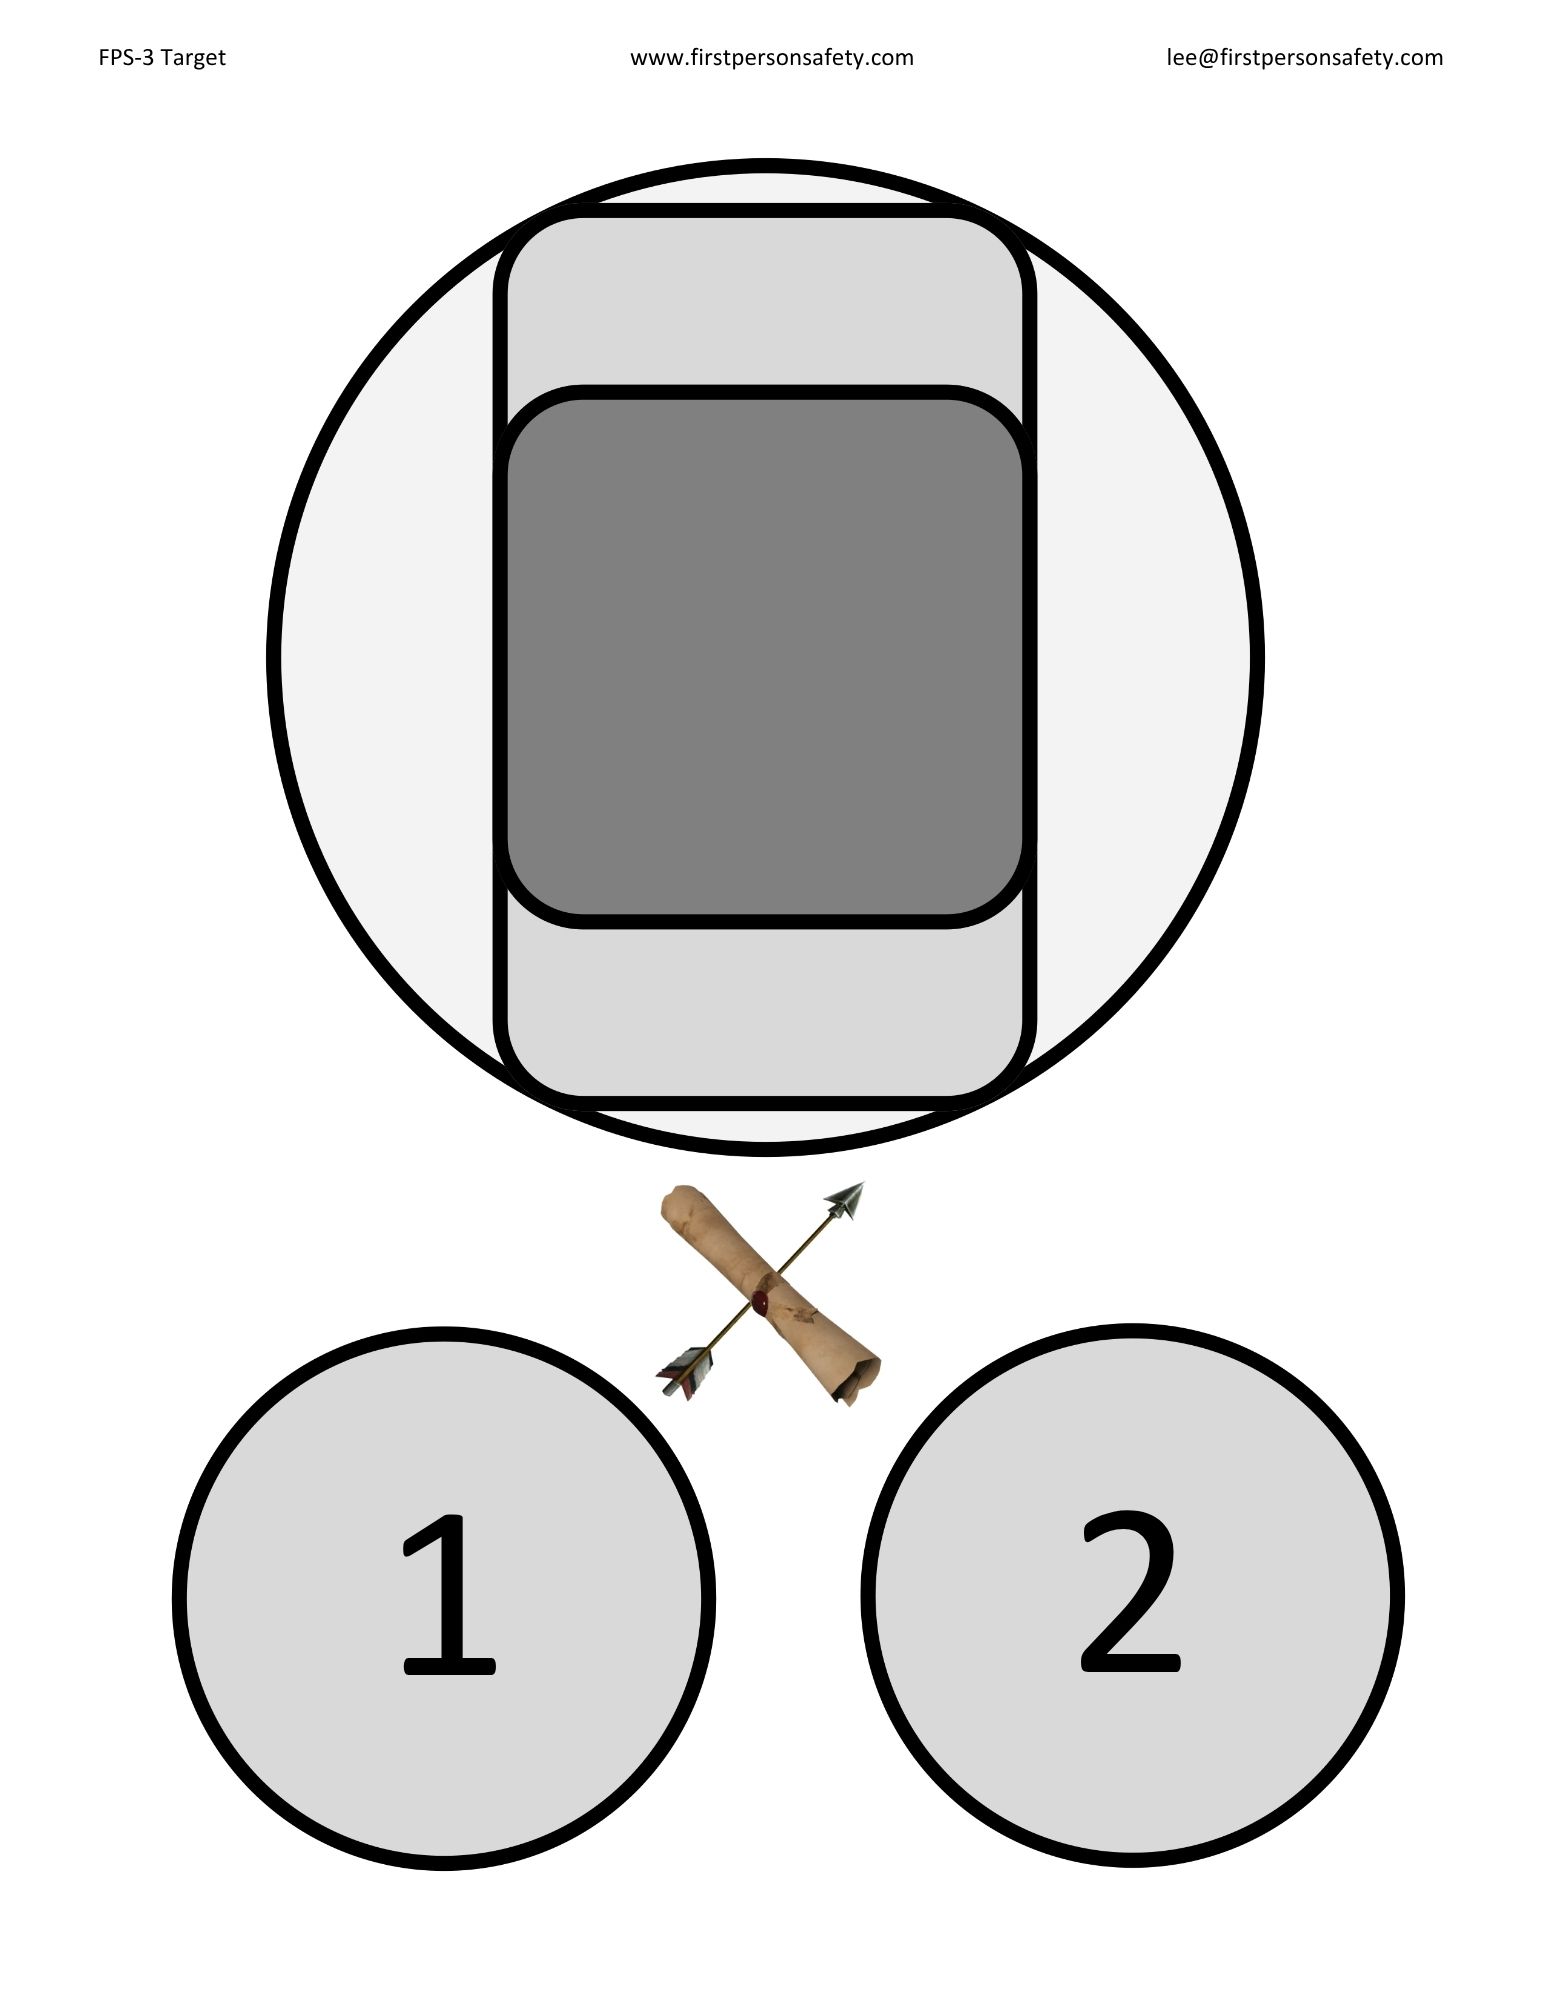
Bob Jewell provided this version of the target. It should be printed on 11×17 paper.
Here’s a camo version with subdued scoring rings.
The course of fire is available on page 102 in Karl Rehn’s and John Daub’s book: Drills, Qualifications, Standards, & Tests.